Top 5 Tips for Perfect Lettering with Your Embroidery Machine
Top 5 Tips for Perfect Lettering with Your Embroidery Machine
Embroidery lettering, an age-old craft steeped in tradition, has seamlessly merged with modernity through the advent of embroidery machines. These innovative tools have revolutionized the landscape of creativity, presenting endless opportunities for personalization and artistic expression.

Overview Of Perfect Lettering with Your Embroidery Machine
Within this comprehensive guide, we explore five essential methods tailored to enhance your proficiency in embroidery lettering, catering to both novice crafters and seasoned enthusiasts. Understanding the capabilities of your sewing machine and embroidery machine stands as a pivotal aspect of mastering embroidery lettering. Delve deep into their functionalities, experiment with various fonts, and grasp the nuanced effects of each parameter on your lettering outcome.
Moreover, honing your skills in fundamental embroidery stitches like satin, backstitch, and stem stitch lays the groundwork for impeccable letterforms and a diverse range of embroidery patterns. With dedicated practice and a spirit of exploration, you’ll unlock the potential to imbue your projects with a distinct personalized charm and intricate detailing, thereby elevating your embroidery endeavors to unprecedented levels of craftsmanship.
Table of Contents
Mastering Embroidery Lettering with Machines
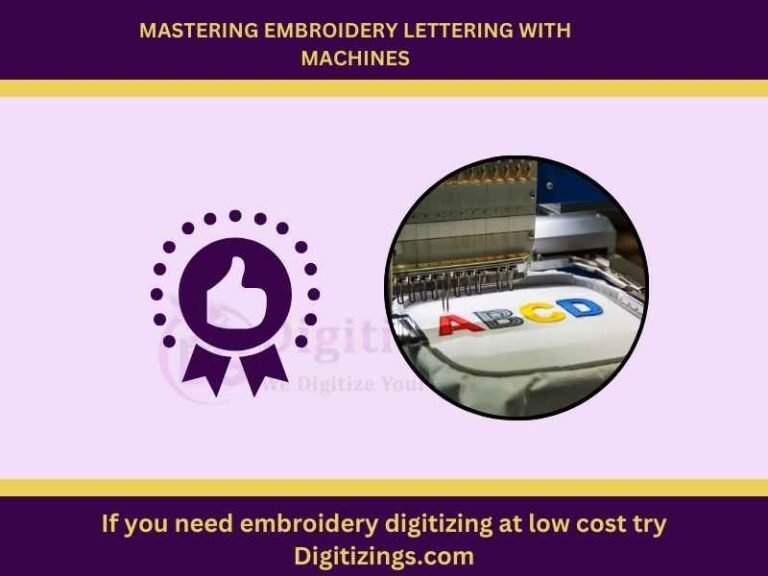
Embroidery lettering with machines offers a world of creative possibilities. Familiarize yourself with your embroidery machine’s settings, including available fonts, and explore different stitch sizes to gauge their impact on your lettering.
Adjustments like thread tension and hoop size are crucial for optimal results. Once you’ve mastered the technical aspects, unleash your creativity! Experiment with various lettering styles and patterns, combining stitches and decorations to craft unique designs.
Embrace mistakes as part of the learning journey when diving into lettering with embroidery machines. Experimentation is key, so have fun exploring! Before long, you’ll be creating stunning embroidered letters that add a special touch to your creations. Whether it’s clothing, accessories, or home decor, embroidery lettering has the power to elevate the ordinary into something extraordinary with just a few stitches.
If you’re looking for a top-quality embroidery design digitizing & vector art service, look no further than ours! With quick turnaround times and excellent quality, we’re the perfect choice for anyone looking for a reliable and affordable option.
Get 50% OFF On Your First Order Always get a preview before you pay so that you know exactly what your design will look like. We guarantee you won’t be disappointed!
Top 5 Tips for Perfect Lettering
Here are top 5 tips for lettering with embroidery machine:
Chain Stitch:
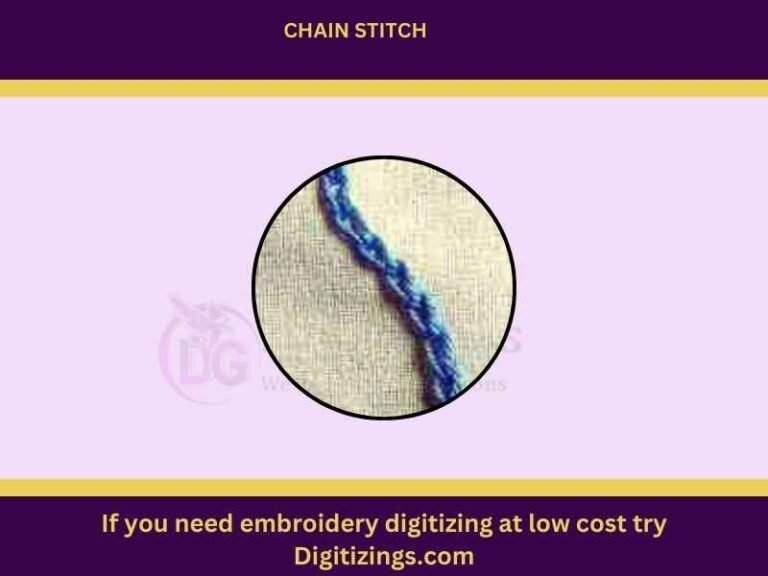
A classic and versatile embroidery technique, the chain stitch creates a series of interlocking loops resembling a chain. To execute this stitch for lettering, begin by bringing the needle up through the fabric and then inserting it back down into the same hole, forming a loop.
As the thread is pulled through, catch the loop with the needle to secure it, and repeat this process to form a chain of stitches. Chain stitch lettering offers flexibility and can be adapted for both simple and intricate designs, making it a favored choice for adding decorative elements to embroidery projects.
Stem Stitch:
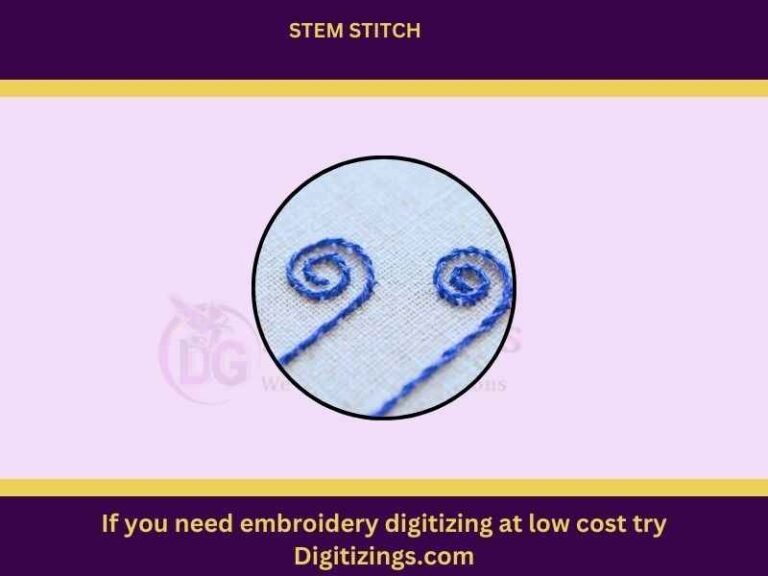
Recognized for its smooth and rope-like appearance, the stem stitch is particularly suited for outlining letters or adding intricate detail within them. To achieve stem stitch lettering, start by bringing the needle up through the fabric and taking a small stitch forward.
Then, bring the needle back up through the fabric slightly ahead of the initial stitch, pulling the thread through. Continue this process, ensuring stitches are slightly angled and overlapping, to form a continuous line. Stem stitch lettering is often preferred for script fonts or to imbue embroidery with a hand-drawn aesthetic.
If you’re looking for a top-quality embroidery design digitizing & vector art service, look no further than ours! With quick turnaround times and excellent quality, we’re the perfect choice for anyone looking for a reliable and affordable option.
Get 50% OFF On Your First Order Always get a preview before you pay so that you know exactly what your design will look like. We guarantee you won’t be disappointed!
Split Stitch:
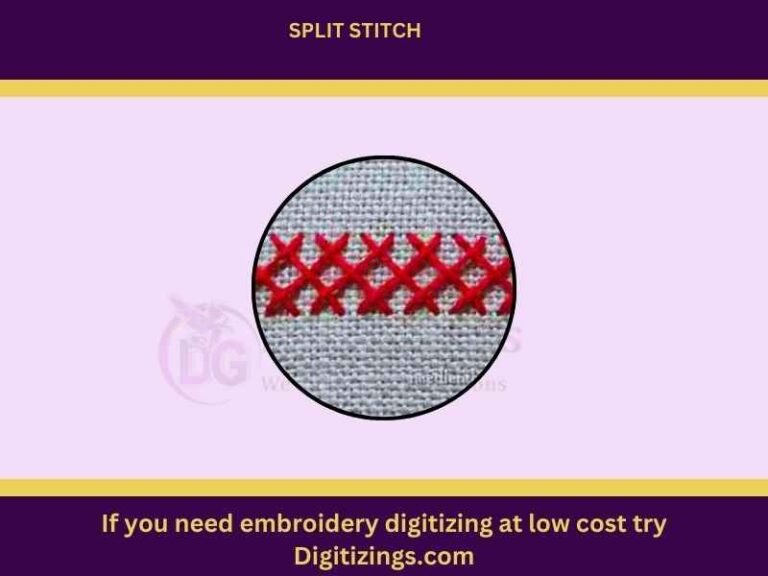
Offering texture and dimension to lettering, the split stitch is a versatile embroidery technique characterized by its braided appearance. To create split stitch lettering, first bring the needle up through the fabric and take a small stitch forward.
Insert the needle back down through the center of the previous stitch, splitting the thread, and then bring it up again to form the next stitch. Repeat this process, keeping stitches close together to create a solid line. Split stitch lettering adds visual interest to embroidery projects and is suitable for both simple and intricate designs.
Running Stitch:

As one of the simplest and most versatile embroidery stitches, the running stitch consists of straight stitches made in a line. For running stitch lettering, bring the needle up through the fabric and take a small stitch forward. Then, insert the needle back down through the fabric a short distance away and repeat this process to form a line of stitches.
Running stitch lettering can be customized by adjusting the length and spacing of the stitches, allowing for various effects and textures. It is commonly used for outlining letters or filling in large areas of lettering and is suitable for both simple and complex designs.
Satin Stitch:
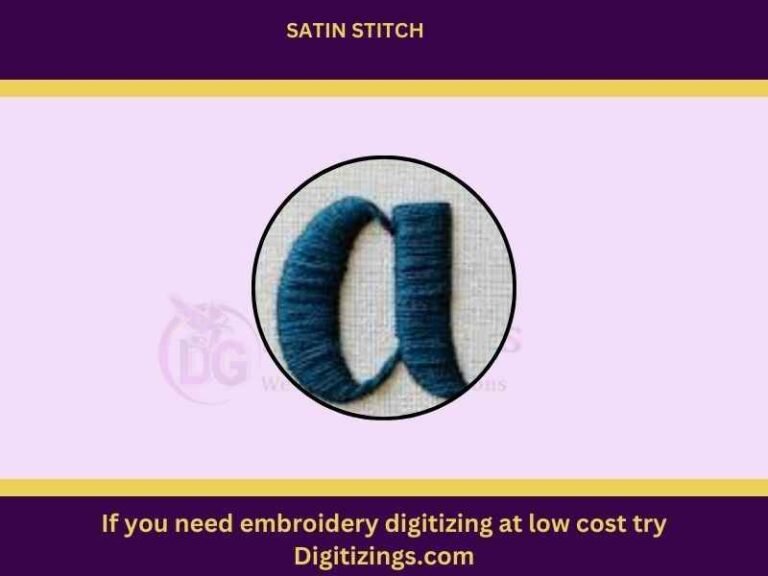
- Renowned for its ability to fill in shapes with smooth, solid lines of stitching, the satin stitch creates a glossy and luxurious finish. To execute satin stitch lettering, bring the needle up through the fabric and insert it back down close to where you started, forming the first stitch.
Then, bring the needle up through the fabric again, slightly to the side of the first stitch, and insert it back down close to where you started to form the next stitch. Continue this process, stitching closely together to fill in the shape completely. Satin stitch lettering is perfect for creating bold and vibrant letters that stand out on fabric, and it is often used for adding text to embroidery projects such as monograms or logos.
Conclusion
In conclusion, mastering the art of lettering with embroidery machines unlocks a realm of creative possibilities accessible to both hobbyists and professionals. From the timeless allure of chain stitches to the sophisticated allure of satin stitches, each technique bestows its own distinctive charm, enriching embroidery projects with unparalleled elegance. By embracing these techniques and exploring diverse styles and patterns, enthusiasts can imbue their creations with bespoke charm and artistic flair.
Moreover, the integration of digitized embroidery across various sectors such as fashion, interior design, and advertising unveils novel avenues for businesses to explore. With platforms like digitizings.com offering efficient and cost-effective digitizing solutions, businesses can embark on a journey of innovation with confidence, equipped with the necessary tools and support to elevate their projects to unprecedented heights.
Whether it’s infusing custom details into clothing, enriching interior decor, or crafting attention-grabbing advertisements, embroidery lettering with machines presents limitless opportunities for creativity and personalization.
If you’re looking for a top-quality embroidery design digitizing & vector art service, look no further than ours! With quick turnaround times and excellent quality, we’re the perfect choice for anyone looking for a reliable and affordable option.
Get 50% OFF On Your First Order Always get a preview before you pay so that you know exactly what your design will look like. We guarantee you won’t be disappointed!
FAQ's
The best embroidery style for letters depends on personal preference. Popular options include satin stitch for its boldness, stem stitch for a hand-drawn appearance, and chain stitch for its elegant charm.
Text can be embroidered using various techniques such as satin stitch, backstitch, and split stitch by hand, or by utilizing embroidery machines equipped with built-in fonts or digitized designs.
To align letters on an embroidery machine, input text using built-in fonts or digitized designs, then adjust settings like size, spacing, and alignment for consistent spacing and proper positioning.
The best font for embroidery depends on the project’s requirements. Serif fonts like Times New Roman offer classic elegance, sans-serif fonts like Arial provide a modern touch, script fonts add decorative flair, and block fonts deliver a bold appearance.
To ensure professionalism in embroidered text, select legible fonts and thread colors, carefully manage spacing and alignment, use stabilizers to prevent puckering, and practice proper tension and stitch settings for impeccable results.


